Creative from Home: Desk Pal Painted Rocks
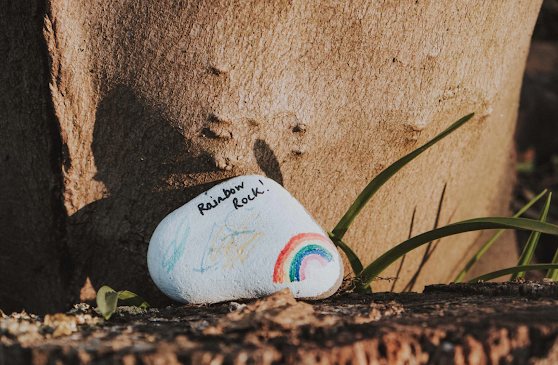
While quarantining during the COVID-19 pandemic, many children left hand-painted rocks around their neighborhoods, giving them a fun and creative activity to do at home and bringing a smile to someone else’s face all at the same time. These rocks often featured positive messages or were cheerfully decorated with rainbows, flowers, and suns.
Painted rocks aren't new! Back in 2015, Megan Murphy started The Kindness Rocks Project in Cape Cod to spread positivity. Brief messages on painted rocks started adding color to the area and inspiring all who saw them. The movement gained popularity on social media, extending far beyond Massachusetts into an international following. Murphy has since been featured in a number of noteworthy news publications, developed Social & Emotional Learning (SEL) presentations and packages for schools, created The Kindness Rocks Project® Grant and Sponsorship Programs, hosted Corporate Workshops, and more!
Today, painted rocks continue to be a symbol of optimism. With remote learning being the new normal, children are spending long hours in front of a computer rather than in colorful and engaging classrooms, but at-home learning environments don’t have to be dreary! Why not create a Desk Pal to brighten up the space and give students a reason to smile throughout their day?
Share these steps with your student so they can make their own Desk Pal! You may just find your work-from-home space needs a little character, too!
What You’ll Need
- Rock
- Pencil
- Newspaper or paper to protect your work surface
- Paintbrushes
- Paint (this example uses black, white, and red)
How to make a Desk Pal
We’ll show you how to paint ladybug rocks, but you can choose whatever creature or design you want! Let’s get started!

Step 1
Find a rock that you like - not too big like a boulder, but not too small like a pebble. Flatter rocks will be easier to paint, too.
Step 2
Once you have your rock, paint the top of the rock all one color. Traditional ladybugs are red, but you can make your desk pal whatever color you want!
Step 3
Let the paint dry for a few minutes and clean your paintbrush while you wait. Pro tip: let your ladybug sit outside so it dries faster!
Step 4
Next, we’re going to use our black paint. On one short side of the rock, make a half circle for the face. On the rest of the ladybug’s body, add little circles to make spots. Lastly, add a thin black line down the middle of the ladybug to give it wings!
Step 5
On the ladybug’s face, add two white dots of white paint. When the white paint dries, you can add the eyes. Dip a pencil tip in black paint and put two little black dots inside the white circles to make the eyes.
Step 6
Once it’s dry, put your ladybug somewhere you can see it while you work. Don’t forget to take a picture and share your Desk Pal with @arckboston on Facebook and Instagram!
See more of our Creative from Home series, like our Blackout Poetry piece.


Comments
Post a Comment